A DIY bouquet chocolate project turns melted chocolate, candy molds, and a little patience into a homemade gift that looks just like a flower bouquet but tastes like dessert. Whether you’re planning a birthday surprise or an anniversary treat, this hands-on craft is easier than it looks once you understand the basic steps. In fact, with the right tools and a bit of practice, almost anyone can assemble a bouquet that rivals one from a dessert shop.
Quick answer: A DIY bouquet chocolate is a homemade arrangement of molded or dipped chocolate shapes attached to sticks and arranged in floral foam like a flower bouquet. You’ll need melted chocolate, candy molds, lollipop sticks, floral foam, and wrapping materials, plus roughly an hour to assemble and chill the pieces.
What Is a DIY Bouquet Chocolate?
A DIY bouquet chocolate is a handmade edible arrangement built from chocolate shapes instead of real flowers. Typically, each “bloom” is a piece of molded or dipped chocolate on a stick, grouped together in foam so the finished result looks like a bouquet you’d buy at a florist. As a result, the gift feels personal, festive, and genuinely sweet in every sense.
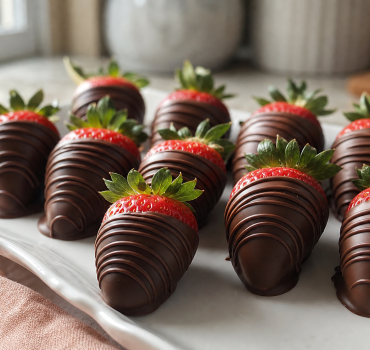
Unlike a basic gift box, this craft lets you control the flavors, colors, and shapes completely. For example, you might mix peanut butter chocolate flowers with dark chocolate rosettes, or add chocolate-dipped strawberries for extra texture. According to Wikipedia’s overview of chocolate, cocoa solids and cocoa butter ratios determine how glossy and firm the finished candy becomes, which is exactly why chocolate choice matters for a bouquet that holds its shape.
Why Make a Homemade Chocolate Bouquet?
There are several reasons people choose to make a homemade chocolate bouquet instead of buying flowers. First, it’s edible, so nothing goes to waste once the celebration ends. Second, it’s fully customizable, meaning you can match colors to a theme, add a favorite flavor, or personalize it with initials or small toppers.
Moreover, gifting data backs up why chocolate remains such a popular present. Industry tracking from the National Confectioners Association shows that chocolate and candy gifting spikes heavily around holidays such as Valentine’s Day, Mother’s Day, and graduations, confirming that a sweet, visual gift still carries strong appeal. Consequently, a DIY bouquet chocolate combines two gifting favorites, flowers and chocolate, into a single memorable present.
Tools and Ingredients for Your Chocolate Bouquet
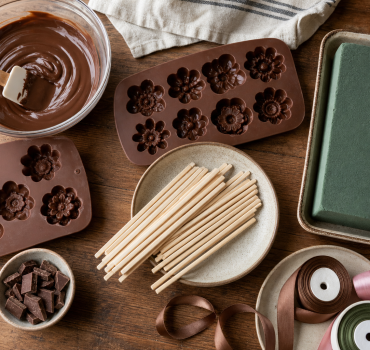
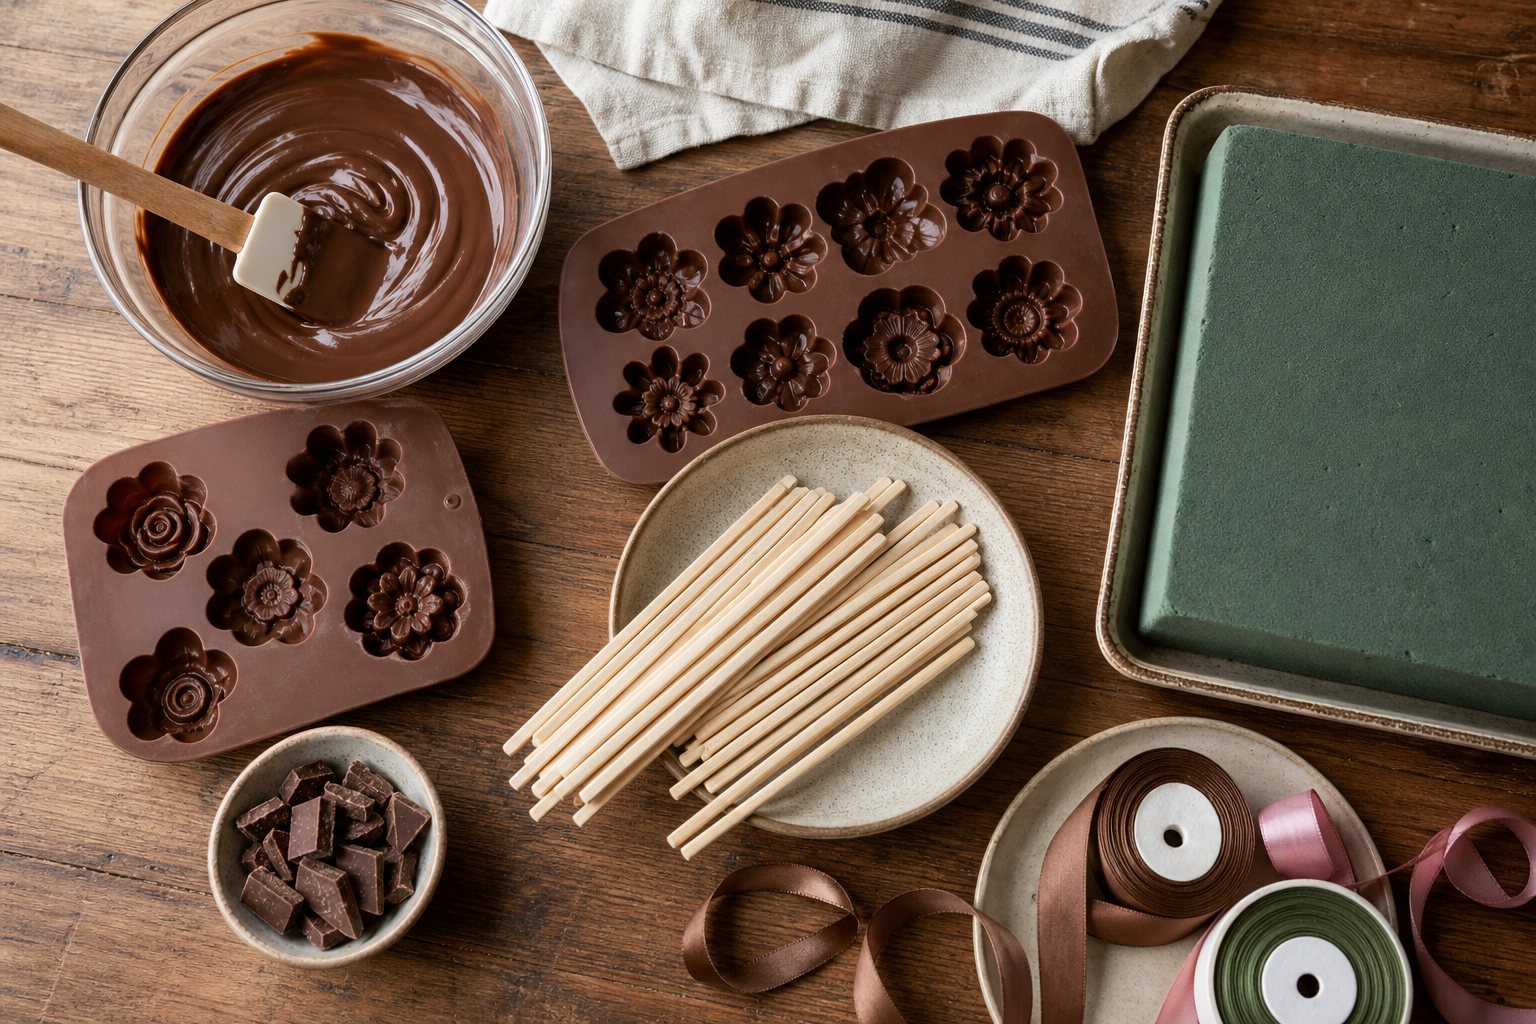
Before you start, gather supplies so the process goes smoothly. The table below outlines the essentials along with a few optional extras for a more polished look.
| Item | Purpose |
|---|---|
| Melting chocolate or candy melts | Main material for each chocolate “flower” |
| Silicone flower or lollipop molds | Shapes the chocolate into bloom-like pieces |
| Lollipop sticks | Acts as the “stem” for each piece |
| Floral foam block | Holds sticks upright in a bouquet shape |
| Cellophane and ribbon | Wraps and finishes the gift |
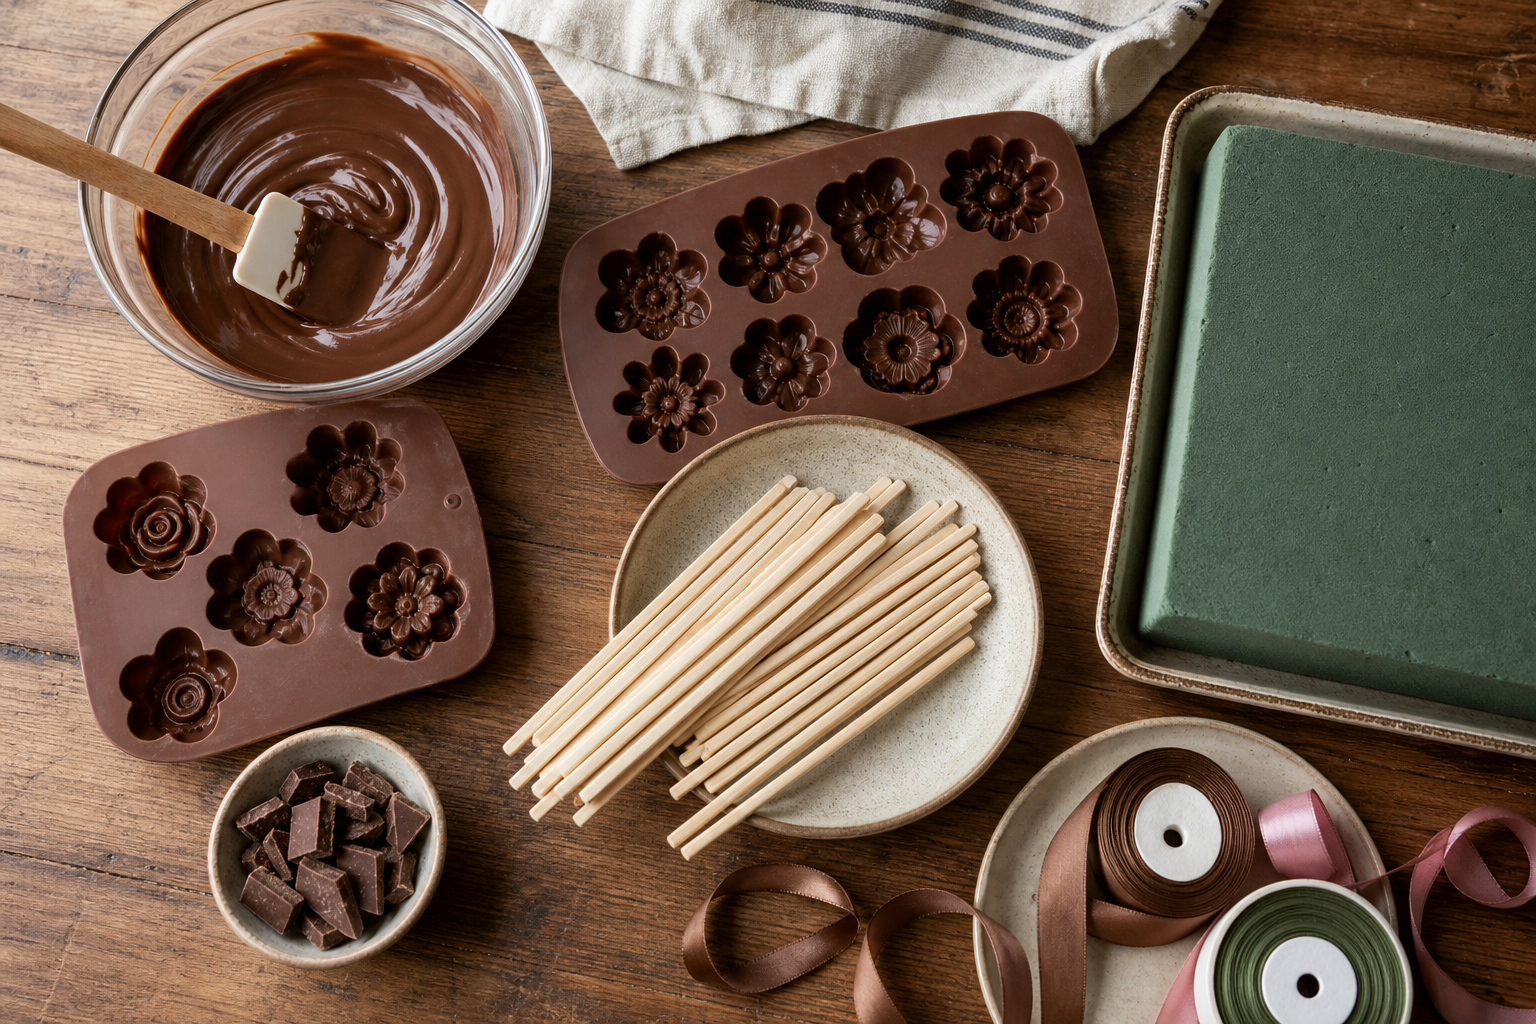
Gathering the right supplies is the first real step toward a successful diy bouquet chocolate project.
How to Make a DIY Bouquet Chocolate Step by Step
Once your supplies are ready, the actual assembly moves quickly. Follow these steps in order for the best results.
- Gather your tools and ingredients. Collect melting chocolate or candy melts, silicone molds, lollipop sticks, floral foam, ribbon, and cellophane wrap before you start so the process goes smoothly.
- Melt and temper the chocolate. Melt the chocolate slowly using a double boiler or short microwave bursts, stirring constantly until it turns smooth, glossy, and free of lumps. The tempering process keeps the chocolate from looking dull or streaky once it cools.
- Fill the molds and insert sticks. Pour the tempered chocolate into your molds, tap out air bubbles on the counter, then press a lollipop stick into each piece before it begins to set.
- Chill until firm. Place the filled molds in the refrigerator for roughly 15 to 20 minutes, checking occasionally until each chocolate piece has hardened completely and releases cleanly from the mold.
- Arrange the pieces in a base. Insert the chocolate sticks into a block of floral foam, grouping shapes by size and color the same way you would arrange real flowers for height and balance.
- Wrap and finish the bouquet. Cover the finished arrangement with cellophane, gather it at the base, and secure it with ribbon so it looks polished and ready to give as a gift.
Choosing the Right Chocolate and Molds
Not every chocolate performs the same way in a mold. For instance, couverture chocolate contains more cocoa butter, which gives it that professional snap and shine. Candy melts, on the other hand, are beginner-friendly because they skip the tempering step entirely, though they tend to be slightly sweeter and softer.
Similarly, mold choice affects how your bouquet looks once finished. Flower-shaped silicone molds are the most common choice, but heart, star, and rosette shapes also work well for themed occasions. In addition, practicing with the food safety guidance from FoodSafety.gov on safe food handling helps ensure your homemade treats stay fresh and safe to eat.
Creative Edible Bouquet Design Ideas
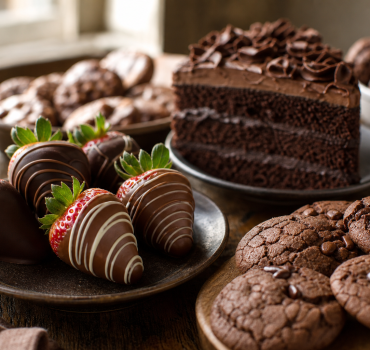
Once you’ve mastered the basics, there’s plenty of room for creativity. Try mixing milk, dark, and white chocolate pieces for a layered color effect, or add chocolate-dipped strawberries between the molded flowers for texture and a fruity contrast. You can also tuck in a few chocolate suckers as “filler” pieces, much like baby’s breath in a real bouquet.
For a birthday theme, consider tinting white chocolate with food-safe color and adding edible glitter for sparkle. For an anniversary gift, dark chocolate roses paired with a handwritten note add a romantic touch. If you’d rather skip the hands-on process altogether, a local shop that specializes in signature edible arrangements can build a custom design around your colors and occasion instead.
Common Mistakes When Making a Chocolate Bouquet at Home
Even simple projects can go sideways without a few precautions. Here are the mistakes that trip up most beginners.
- Rushing the cooling step, which causes chocolate to slide off the sticks or crack when handled too soon.
- Overheating the chocolate, leading to a grainy, seized texture instead of a smooth finish.
- Overcrowding the arrangement, which hides individual shapes and makes the bouquet look messy rather than intentional.
- Skipping food-safe handling, especially important when fresh fruit is included in the design.
Above all, patience matters more than speed. A rushed bouquet rarely looks as good as one assembled piece by piece with time to set between steps.
DIY vs Professional: When to Order a Handcrafted Edible Bouquet Instead
While making your own chocolate bouquet is rewarding, it does require time, practice, and a few specialty tools. Therefore, if you’re short on time or want a guaranteed polished result, ordering from a local dessert shop is often the simpler choice. Many shops, such as the team behind DDs Things ETC in DeRidder, Louisiana, build signature edible chocolate bouquets and arrangements made from scratch with fine ingredients, saving you the trial and error.
If you’d rather browse ready-made options, explore the full sweet shop selection for cookie platters, chocolate-covered strawberries, and dessert balls that pair nicely with a bouquet gift. You might also like their cookie cakes, sheet cakes, or specialty cakes for a complete celebration spread, plus fresh items from the bread shop if you’re planning a bigger gathering.
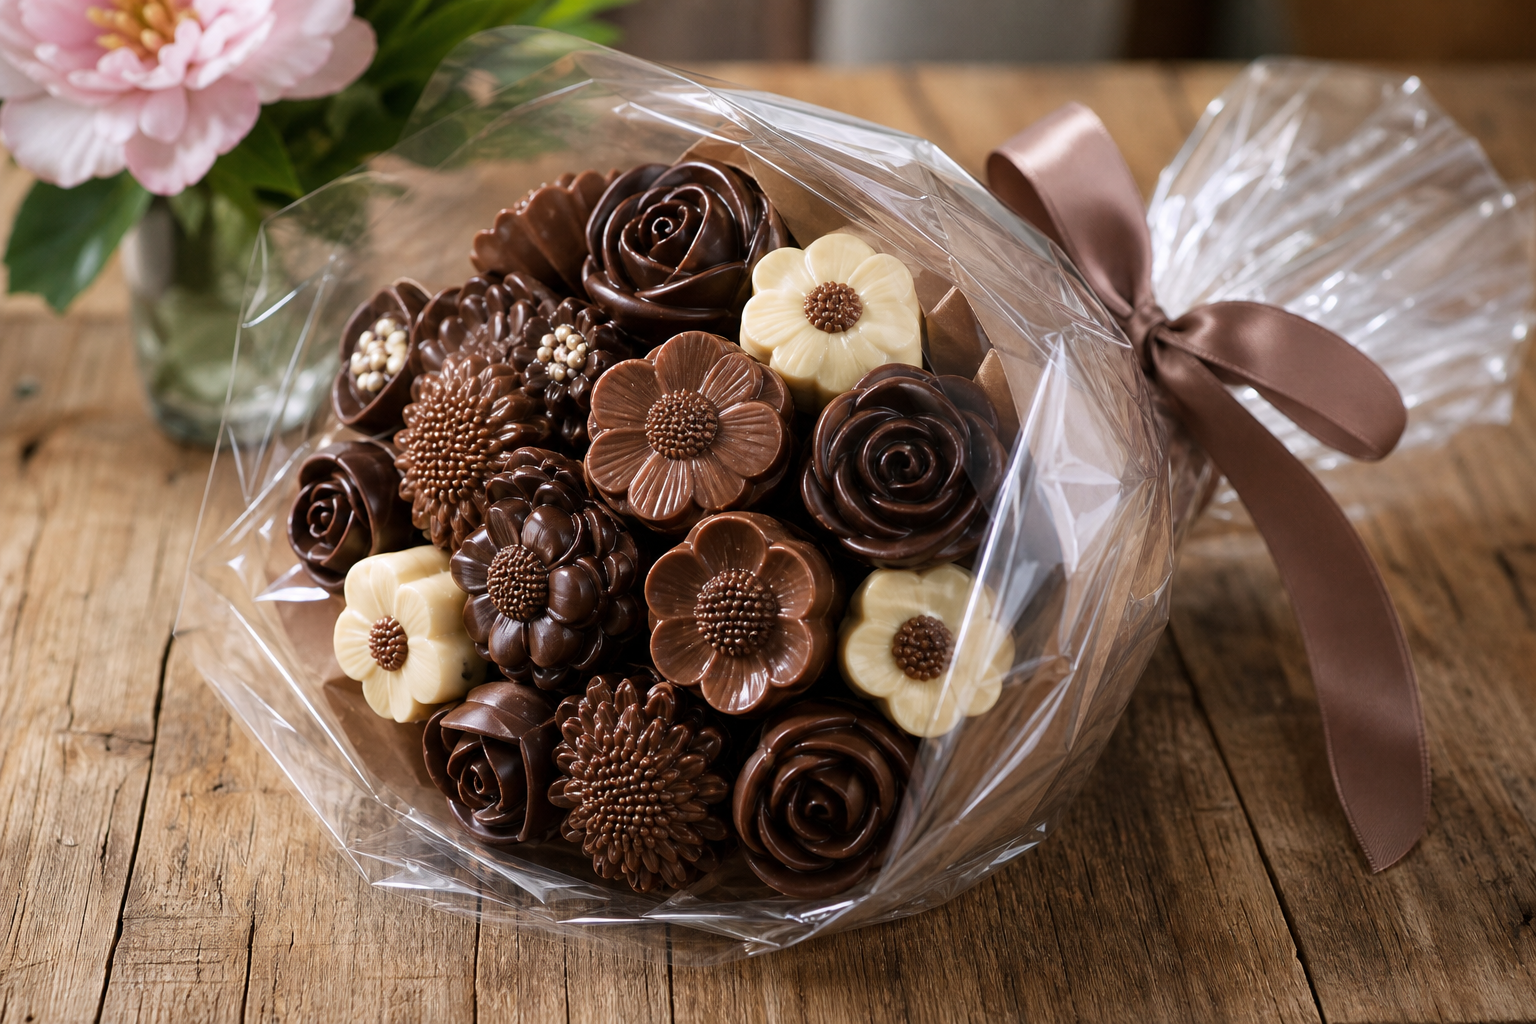
A well-wrapped chocolate bouquet makes a thoughtful, edible alternative to fresh flowers.
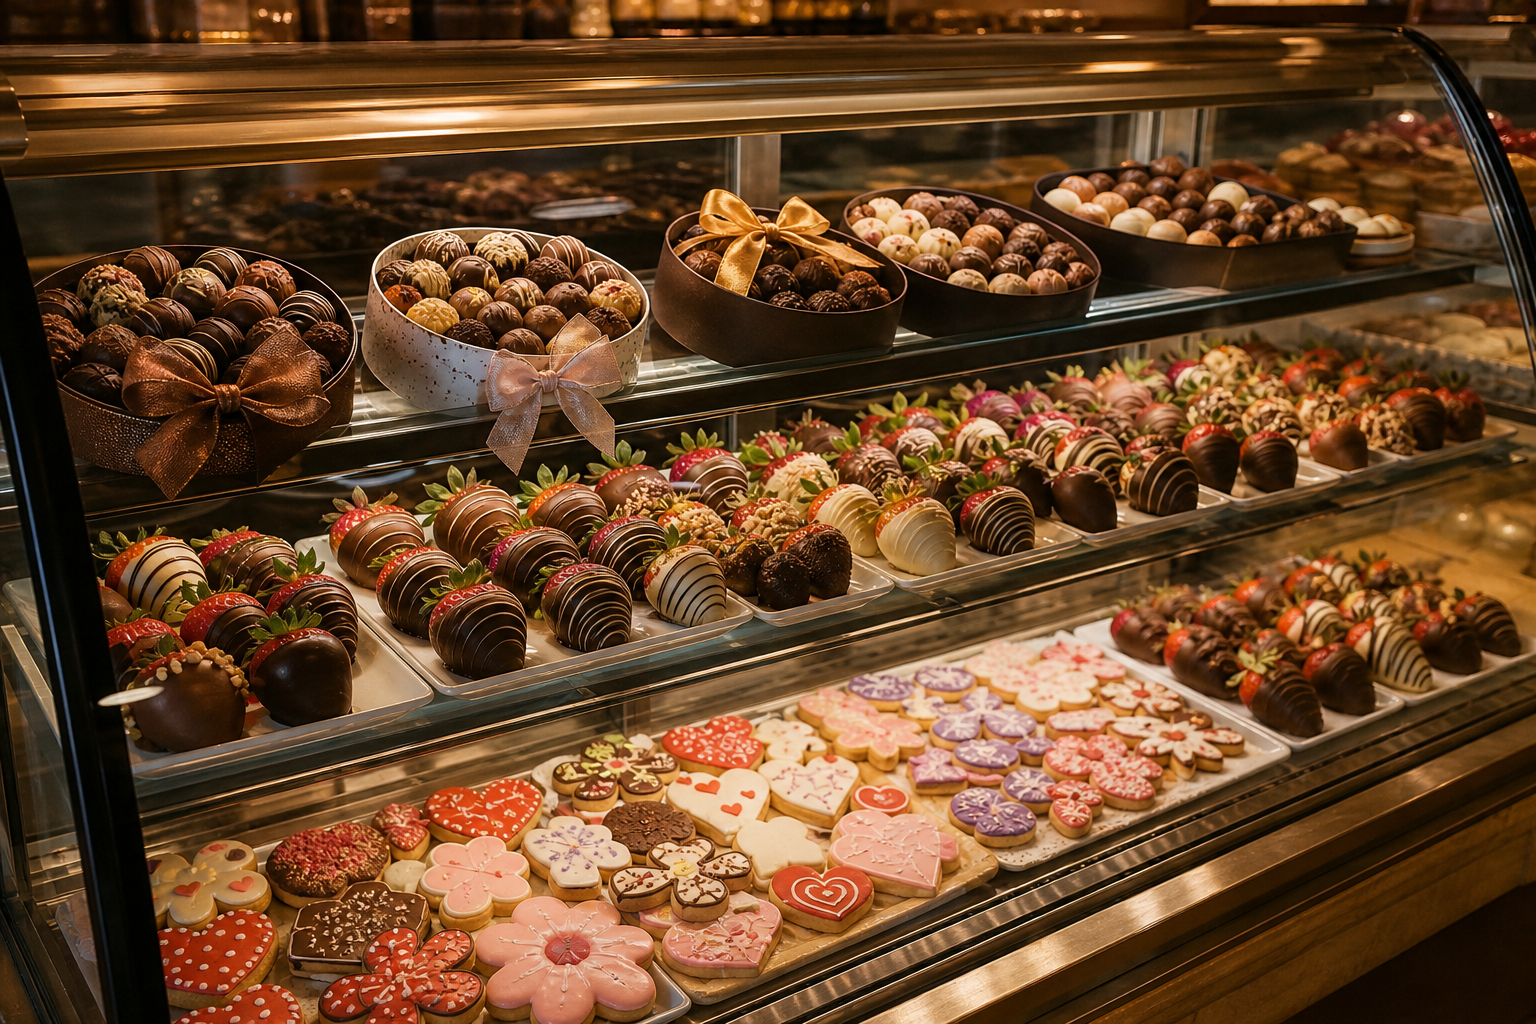
Local dessert shops often offer ready-made alternatives for those who want a chocolate bouquet without the DIY effort.
Frequently Asked Questions About DIY Bouquet Chocolate
What is a DIY bouquet chocolate?
A DIY bouquet chocolate is a homemade edible arrangement made from molded or dipped chocolate pieces attached to sticks and arranged like a flower bouquet. It typically combines melted chocolate, candy molds, skewers, floral foam, and wrapping materials.
How long does a homemade chocolate bouquet last?
A homemade chocolate bouquet usually stays fresh for 7 to 10 days when stored in a cool, dry spot away from direct sunlight. If it includes fresh fruit like strawberries, plan to enjoy it within 24 to 48 hours instead.
What chocolate works best for a chocolate bouquet?
Couverture or compound chocolate with a high cocoa butter content works best because it sets with a firm snap and a glossy shine. Candy melts are a beginner-friendly alternative since they do not require tempering.
How much does it cost to make a DIY bouquet chocolate at home?
A basic homemade chocolate bouquet can cost between $15 and $30 in ingredients and supplies, depending on the chocolate quality and mold variety. Larger or more elaborate designs with multiple flavors will naturally cost more.
Can I use candy melts instead of real chocolate?
Yes, candy melts are a great substitute because they melt smoothly and harden without tempering. However, real chocolate generally offers a richer flavor and a more professional, glossy finish.
What is the biggest mistake people make with chocolate bouquets?
The most common mistake is rushing the cooling step, which causes chocolate to crack or slide off the sticks. Another frequent error is overcrowding the arrangement, which hides the individual shapes.
How do I keep chocolate from melting during assembly?
Work in a cool room, ideally below 70 degrees Fahrenheit, and handle each piece briefly with clean, dry hands. Chilling pieces in the refrigerator between steps also helps them hold their shape.
Do I need special molds to make a chocolate bouquet?
Silicone candy molds shaped like flowers, hearts, or lollipops make the process much easier, though they are not strictly required. You can also hand-dip solid chocolate shapes and attach sticks as an alternative.
How far in advance can I make a chocolate bouquet for an event?
You can typically make a chocolate bouquet 3 to 5 days ahead of an event if it is stored properly in a cool, dry place. Add any fresh fruit or perishable decorations on the day of the event instead.
Is making a DIY bouquet chocolate cheaper than buying one?
Making your own can be slightly cheaper for a simple design, but it takes time, practice, and specific tools to get a polished look. For a guaranteed professional finish, ordering from a local dessert shop is often worth the small price difference.
What occasions are chocolate bouquets good for?
Chocolate bouquets suit birthdays, anniversaries, graduations, and holidays like Valentine’s Day and Mother’s Day. They also work well as a sweet centerpiece for office parties and reunions.
Can a local dessert shop make a custom edible bouquet for me instead?
Yes, many local dessert shops, including DDs Things ETC in DeRidder, Louisiana, create custom edible chocolate bouquets and arrangements for any occasion. You can call ahead to the hotline at 337-627-9480 with your flavor preferences, colors, and budget to get a personalized design.
How should I store a finished chocolate bouquet?
Store the finished bouquet upright in a cool room, away from heat, humidity, and direct sunlight. Avoid the refrigerator unless necessary, since condensation can dull the chocolate’s shine once it returns to room temperature.
What is the difference between a chocolate bouquet and an edible arrangement?
A chocolate bouquet is made almost entirely from molded or dipped chocolate shaped like flowers, while an edible arrangement often mixes fresh fruit with chocolate accents. Both are designed to look like a traditional flower bouquet but are meant to be eaten.
In the end, a DIY bouquet chocolate is a fun, budget-friendly way to turn a few simple ingredients into a memorable, edible gift. Whether you’re working with molds and sticks for the first time or you’ve made several bouquets before, patience and good-quality chocolate make the biggest difference in the final look. However, if you’d rather skip the mess and get a guaranteed show-stopping result, a local dessert shop like DDs Things ETC can craft a custom edible chocolate bouquet for your next birthday, anniversary, or celebration, no melting pot required.